> For the complete documentation index, see [llms.txt](https://docs.oobeya.io/llms.txt). Markdown versions of documentation pages are available by appending `.md` to page URLs; this page is available as [Markdown](https://docs.oobeya.io/integrations/all-integrations/apm-monitoring-addons/new-relic-integration.md).
# New Relic Integration
Learn about New Relic & Oobeya Integration.
## 1. **Create An API Key on New Relic** :tools:
1. Click the **"Profile"** button as in the figure.

2\. Click the **"API Keys"** button.

3. Click the "Create a key" button.
4. Select the account and click the "Create a key" button to create the API key.
## 2. Creating A Query Key on New Relic Insights
1. Click the **"Profile"** button as in the figure.
2\. Click the "**API Keys**" button.
3\. Click on the **"Insights Query Keys”** button.
4. Click the add icon next to the **"Query Keys"** to add a query key.
5. You can use the created query key as shown below to add a data source in Oobeya.
## 4. Install New Relic Addon on Oobeya :jigsaw:
1. Log in to [Oobeya](https://oobeya.io/) with an Administrator account.
2. Navigate to **Market Place**, select the New Relic addon, and click the "Install" button.
## 3. Add A New Data Source :electric\_plug:
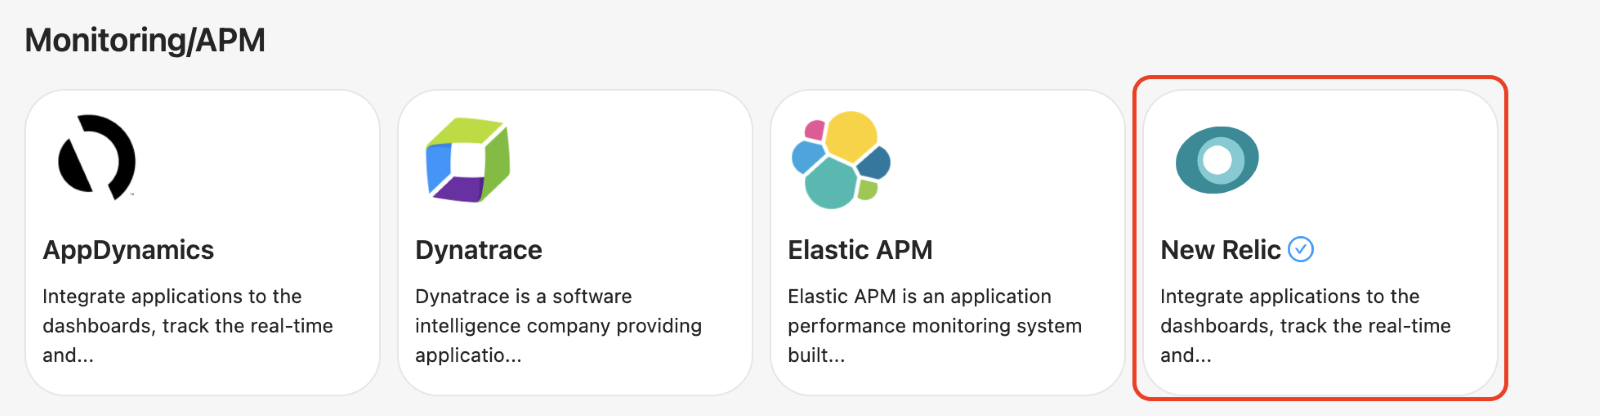
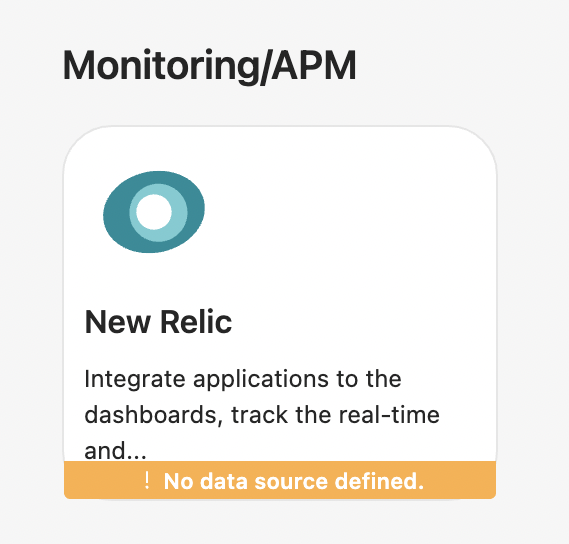
1. Navigate to **Data Sources**, and select New Relic to add a new data source.
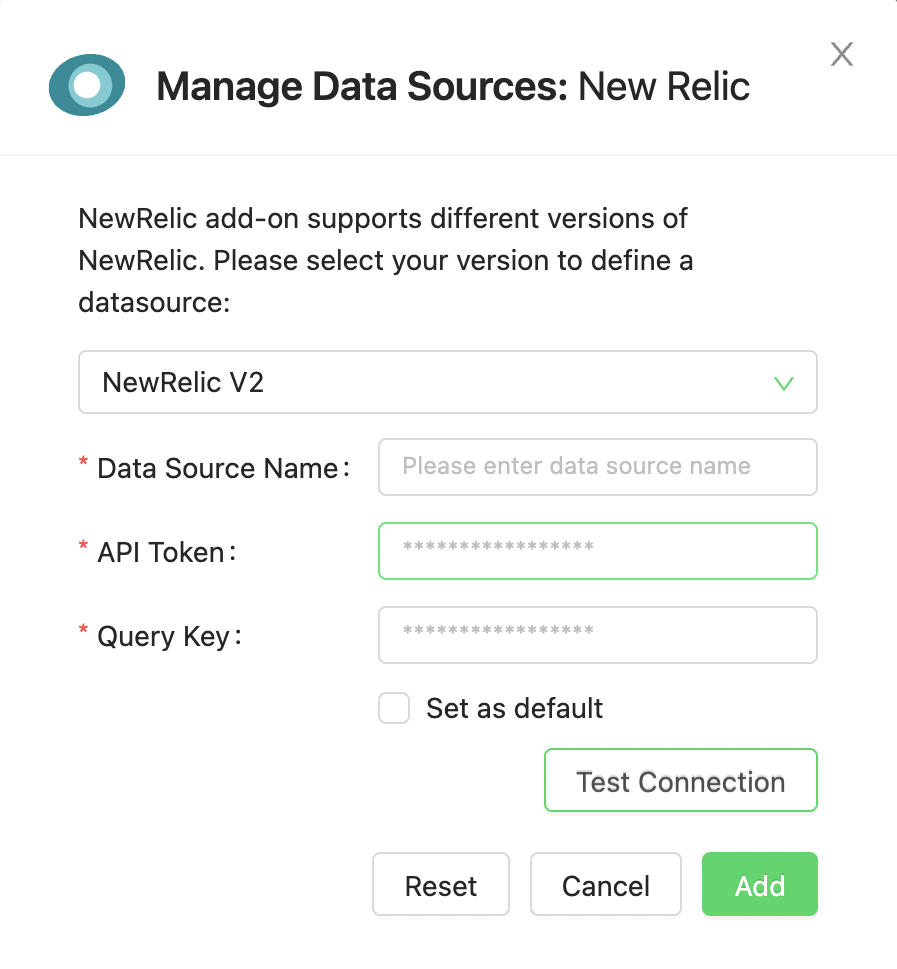
2\. Click the "**New Data Source**" button and fill in the form. *API Token* from Step-1 and *Query Key* from Step-2.
3\. Click the "**Test Connection**" button to verify the connection.
## Ready to Connect :rocket:
Now Oobeya is connected with your own New Relic account to track the real-time and average performance metrics.
## **Next Steps** :dart:
* [Network Access Requirements ](/integrations/network-access-requirements.md)
* [Create a new Gitwiser Analysis](/gitwiser-repo-analytics/settings-for-git-analytics/initialize-development-analytics.md)


 2\. Click the "**New Data Source**" button and fill in the form. *API Token* from Step-1 and *Query Key* from Step-2.
 3\. Click the "**Test Connection**" button to verify the connection.
## Ready to Connect :rocket:
Now Oobeya is connected with your own New Relic account to track the real-time and average performance metrics.
## **Next Steps** :dart:
* [Network Access Requirements ](/integrations/network-access-requirements.md)
* [Create a new Gitwiser Analysis](/gitwiser-repo-analytics/settings-for-git-analytics/initialize-development-analytics.md)
3\. Click the "**Test Connection**" button to verify the connection.
## Ready to Connect :rocket:
Now Oobeya is connected with your own New Relic account to track the real-time and average performance metrics.
## **Next Steps** :dart:
* [Network Access Requirements ](/integrations/network-access-requirements.md)
* [Create a new Gitwiser Analysis](/gitwiser-repo-analytics/settings-for-git-analytics/initialize-development-analytics.md)